
Why?#
Why not?
Components#
I bought all the parts on kbdfans.com, but you can find a lot of things on other websites. Be careful on the shipping tho!
| Part | Product | Comment |
|---|---|---|
| Switches | Gateron red | linear, x70 |
| Stabilizers | Cherry Screw-in Stabs 60 set | |
| PCB | KBD67 rev2 65% PCB | RGB, VIA support, USB-C |
| Plate | Aluminium plate | |
| Backplate | TADA68 Low Profile Aluminum Case | |
| Keycaps | Generic caps | |
| Lube | PCMasterrace lube |
Tip: buy a lube station and a switch disassembler for more confort
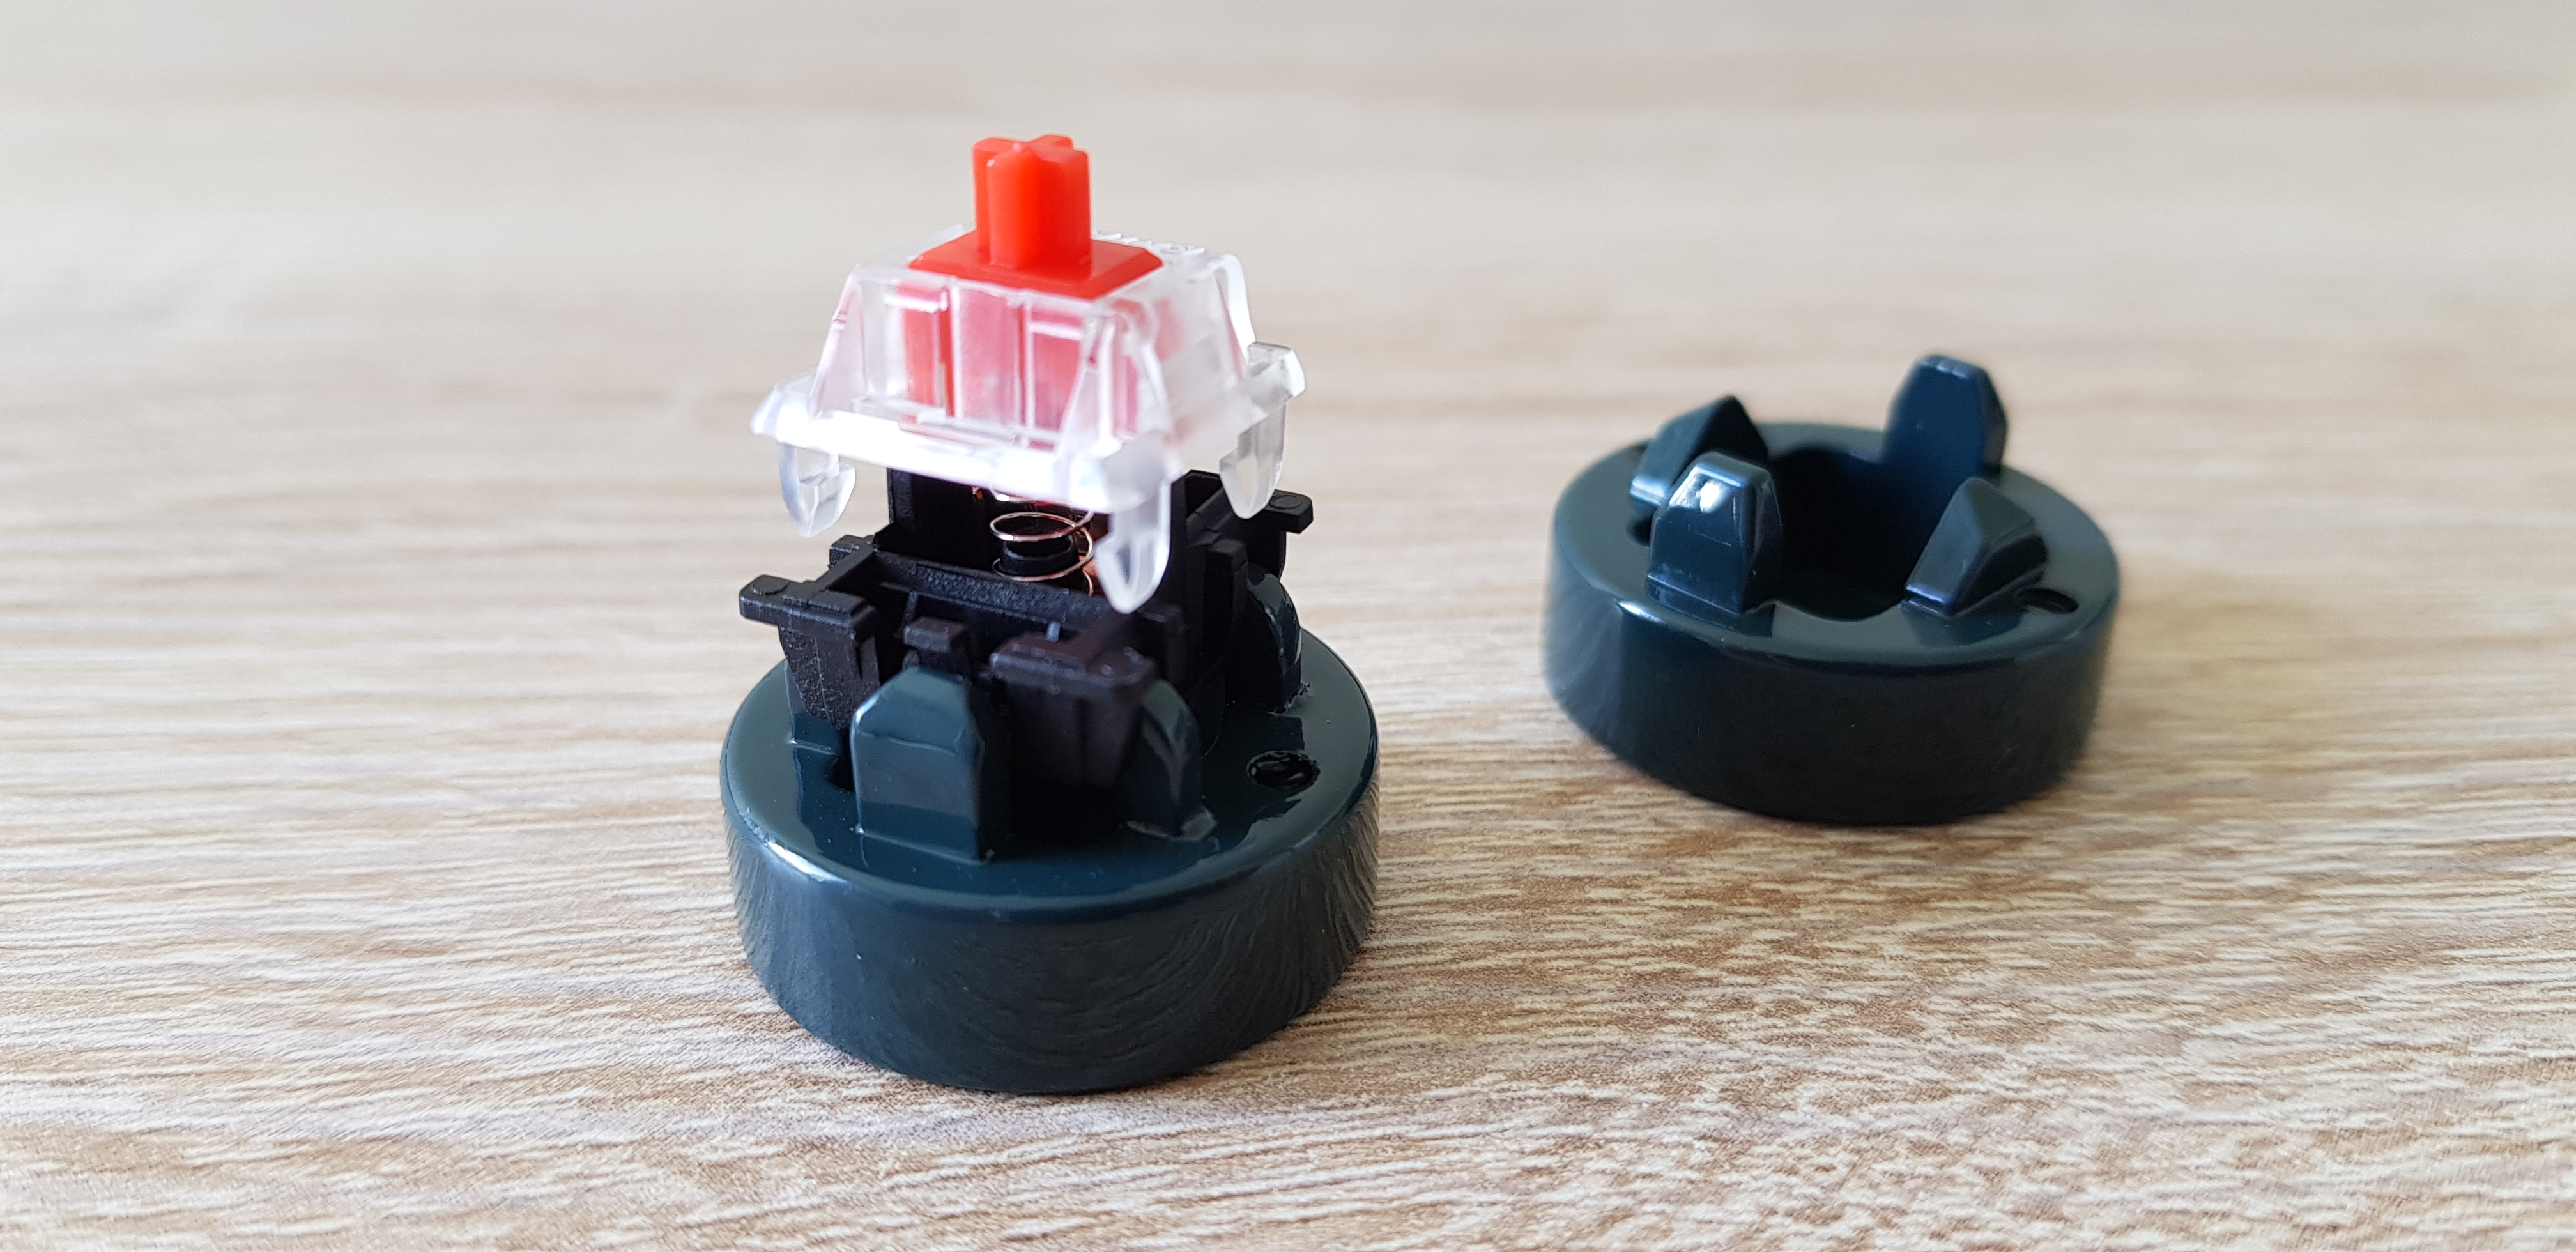
Switches#
First thing to do is to disassemble the switches and separate all the pieces for lubing.
Ref:
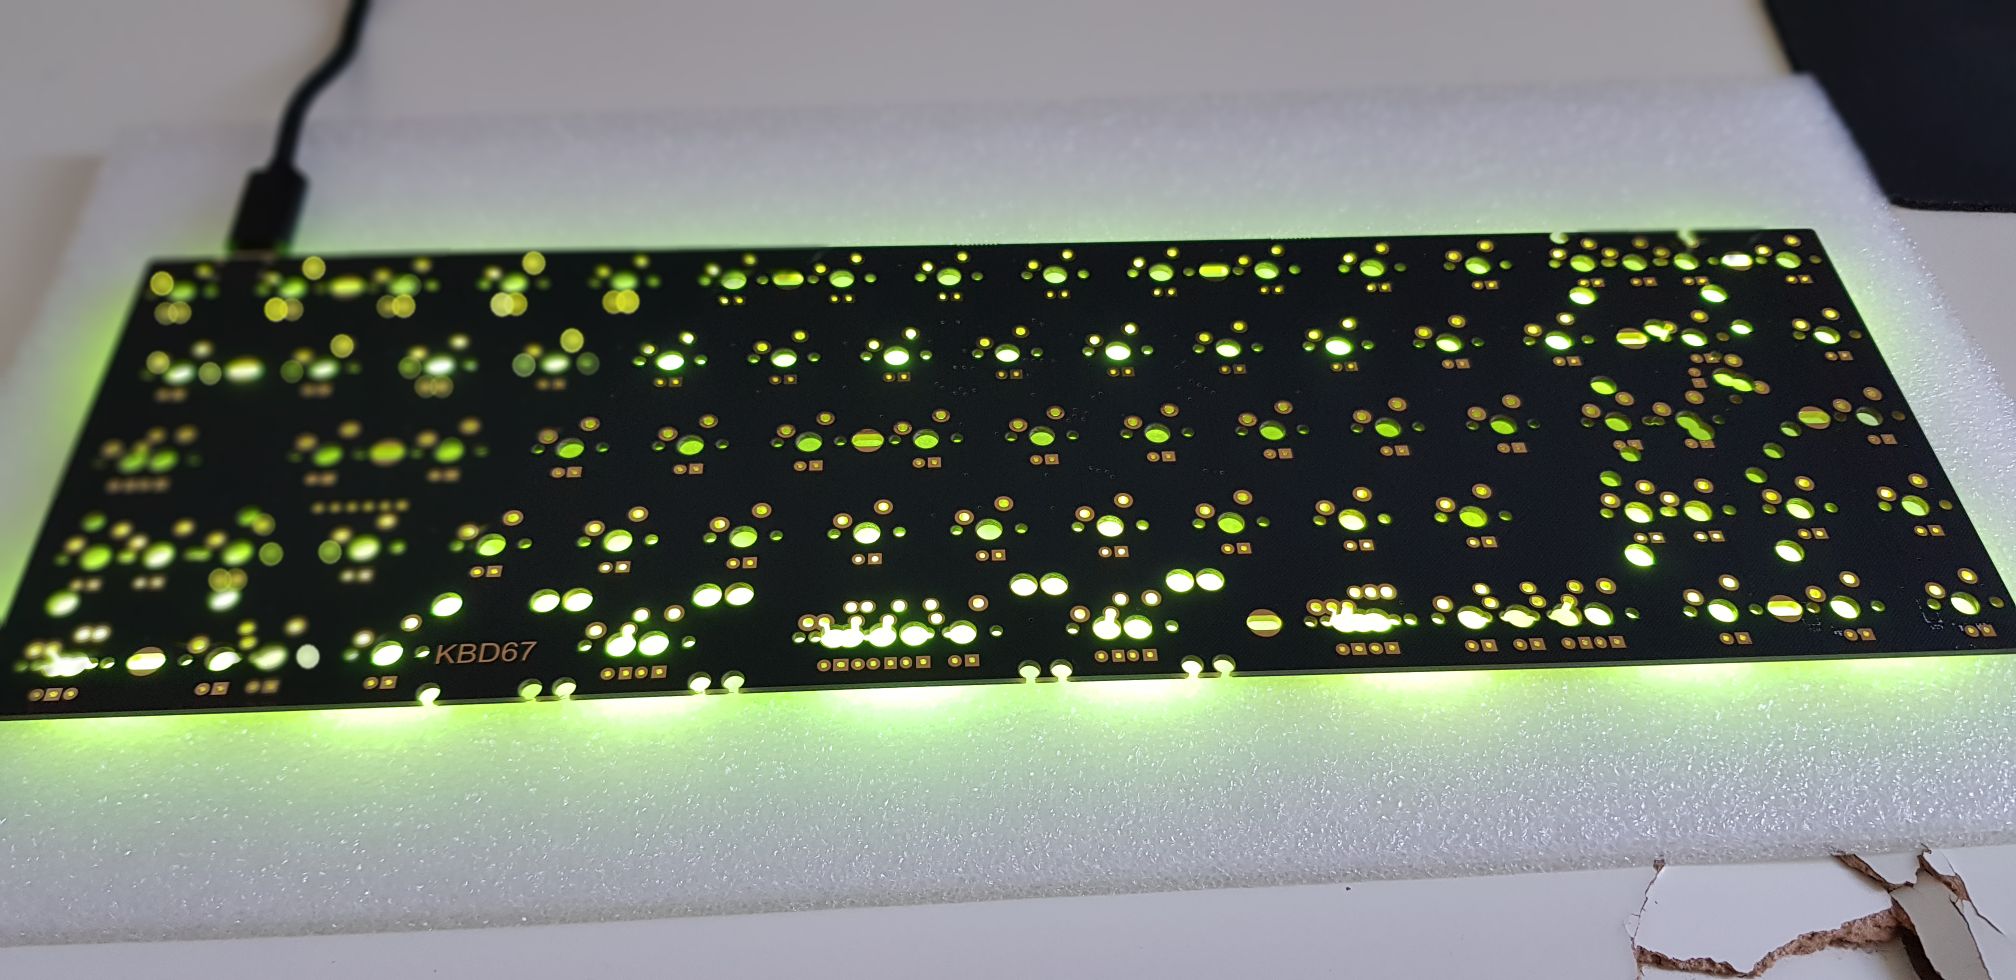
Test the PCB#
We want to test our PCB if any pin is damaged or not working, I used the VIA software to check it.
Stabilzers#
Trim the useless feet of the stabilizers for better stability and less noise.
| Before | After |
|---|---|
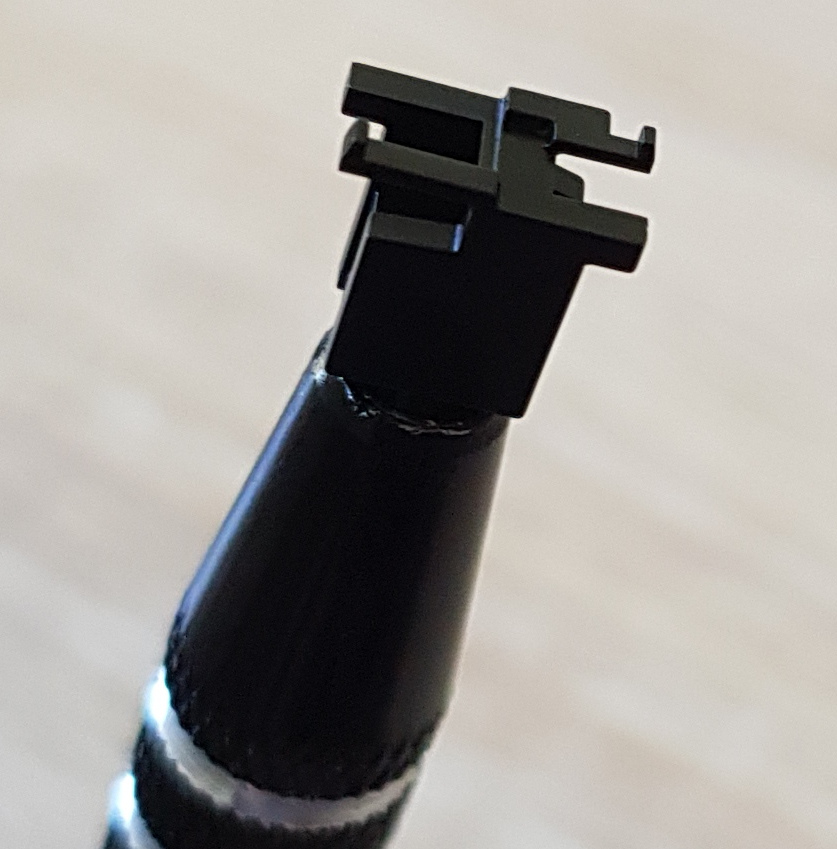 | 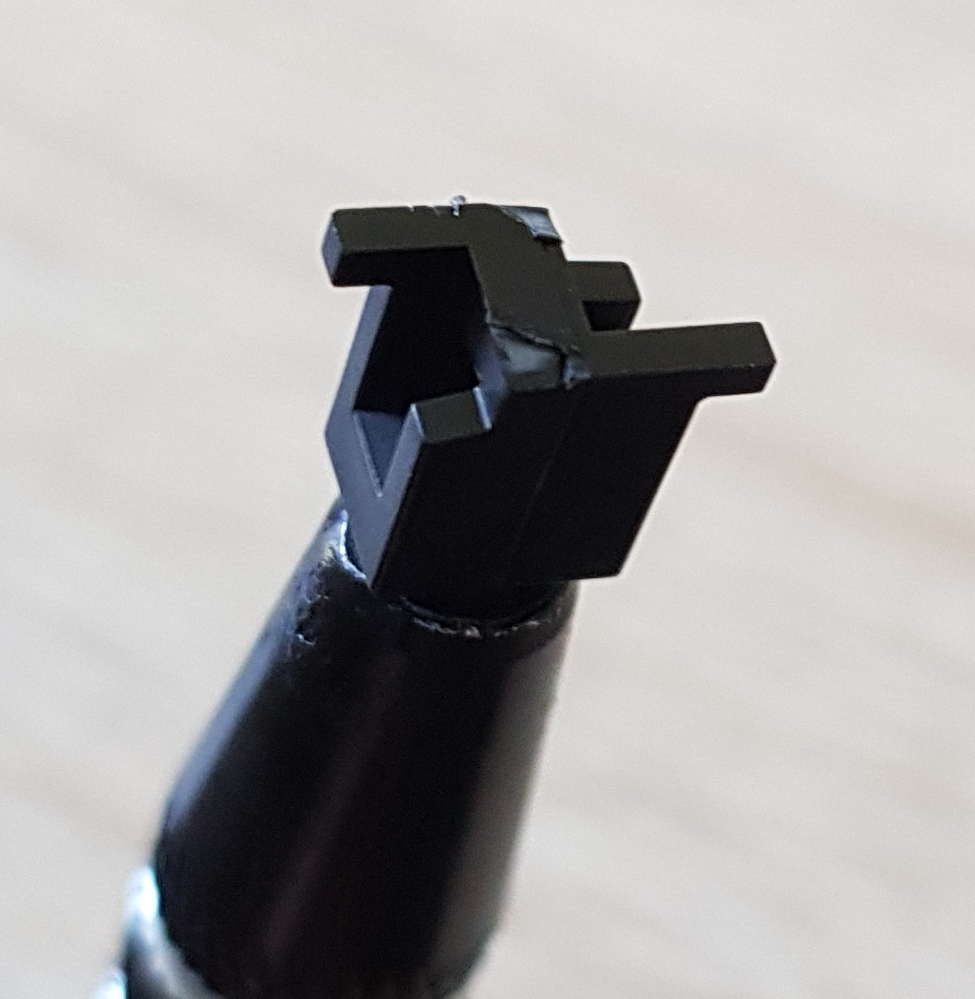 |
Now we will lube the stabs and place them on the PCB.
Ref:
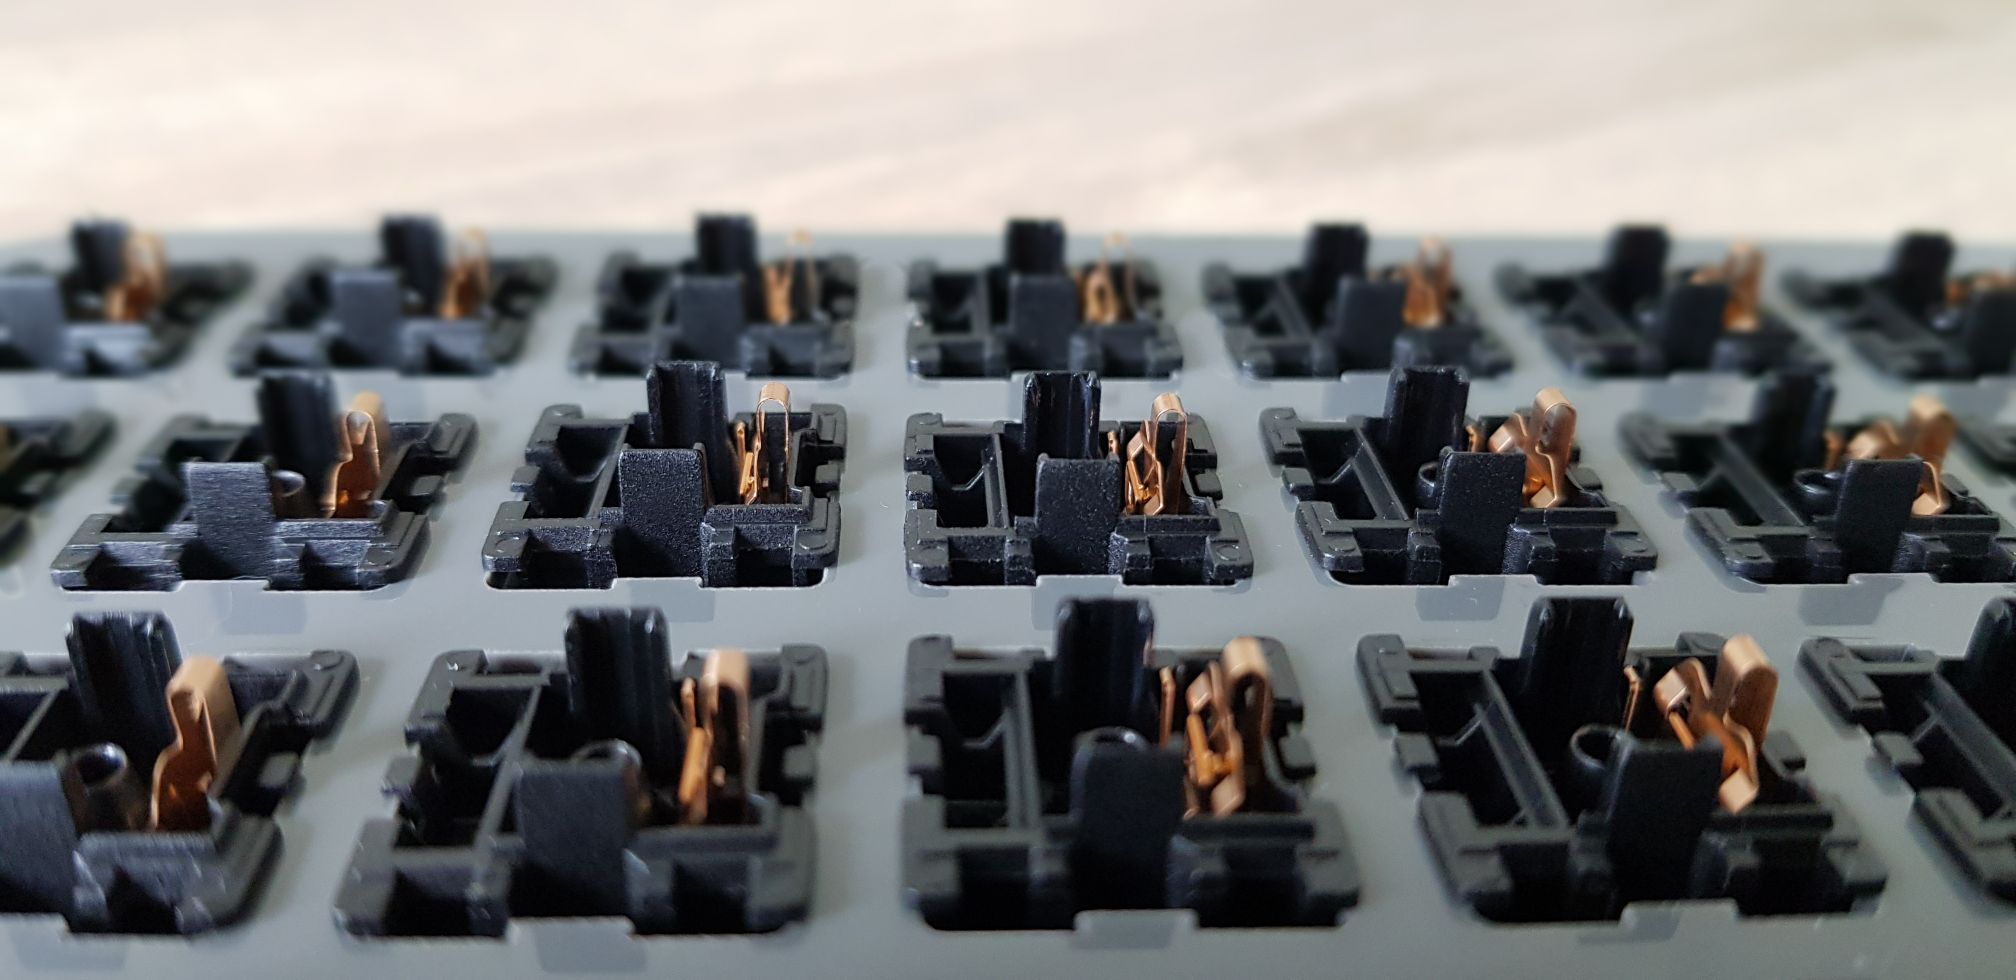
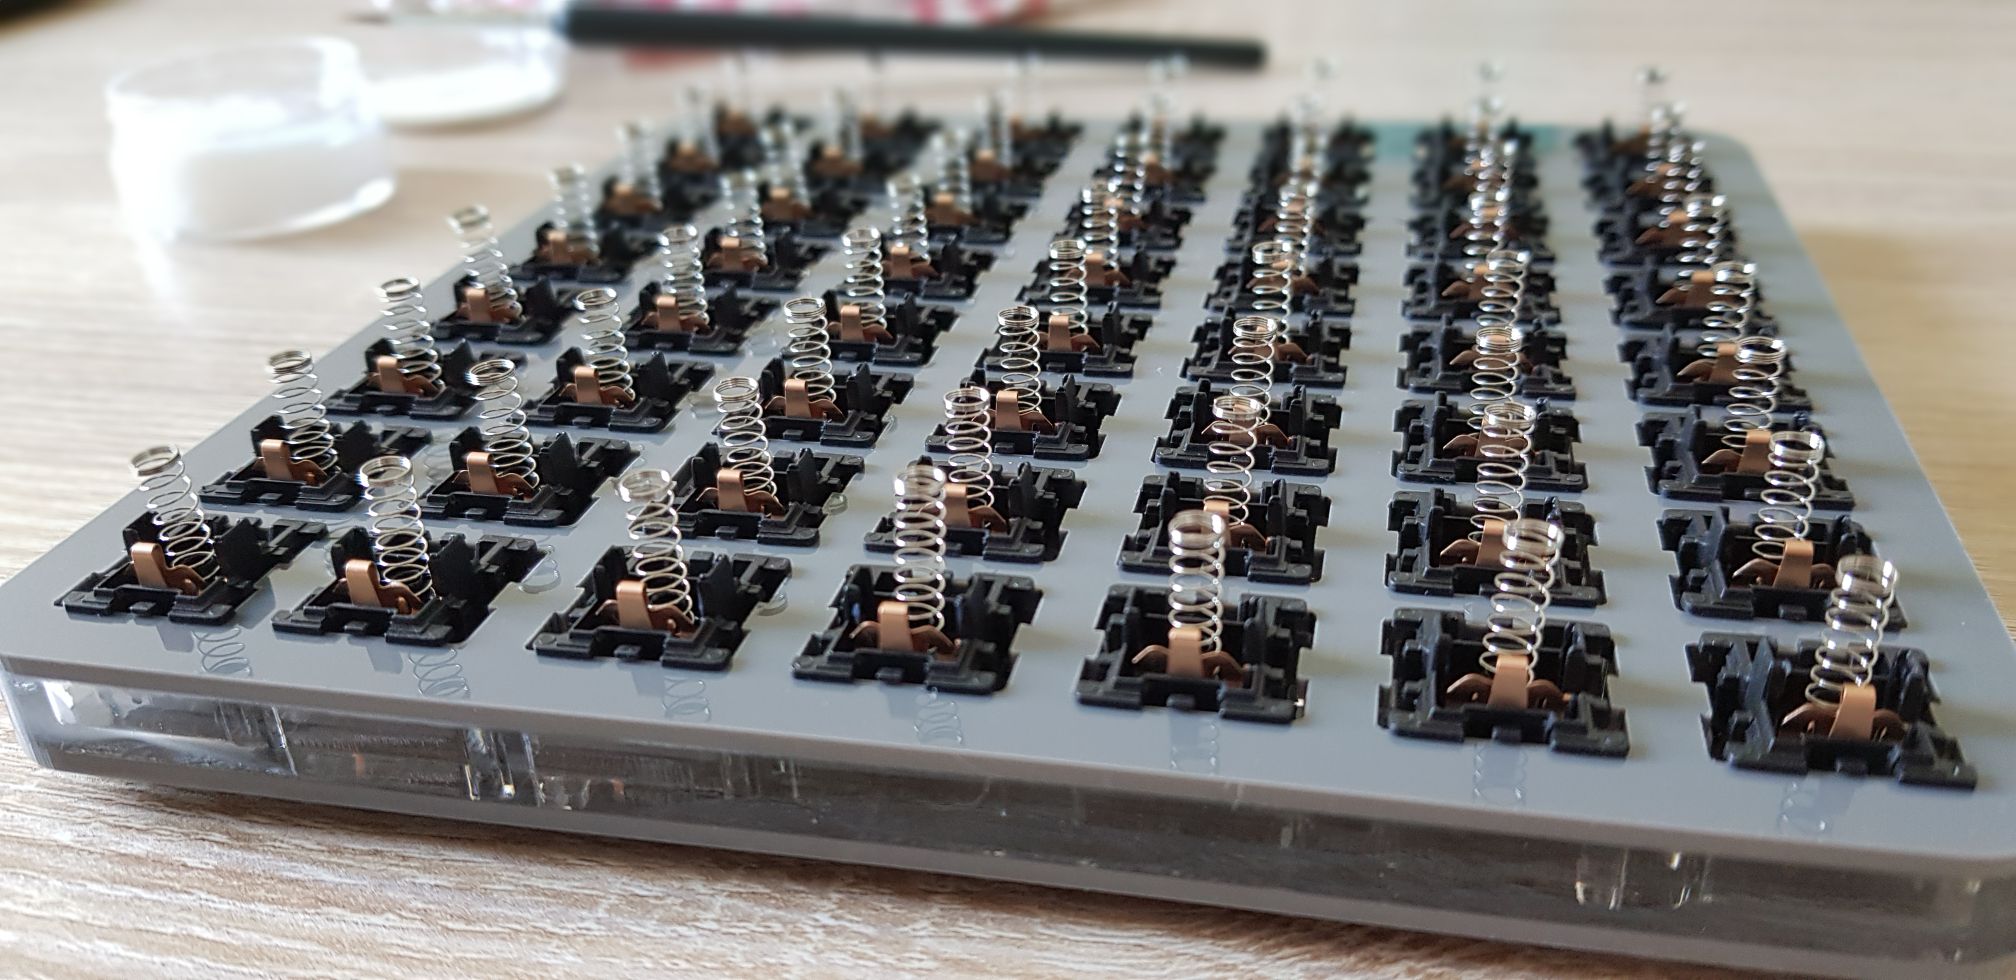
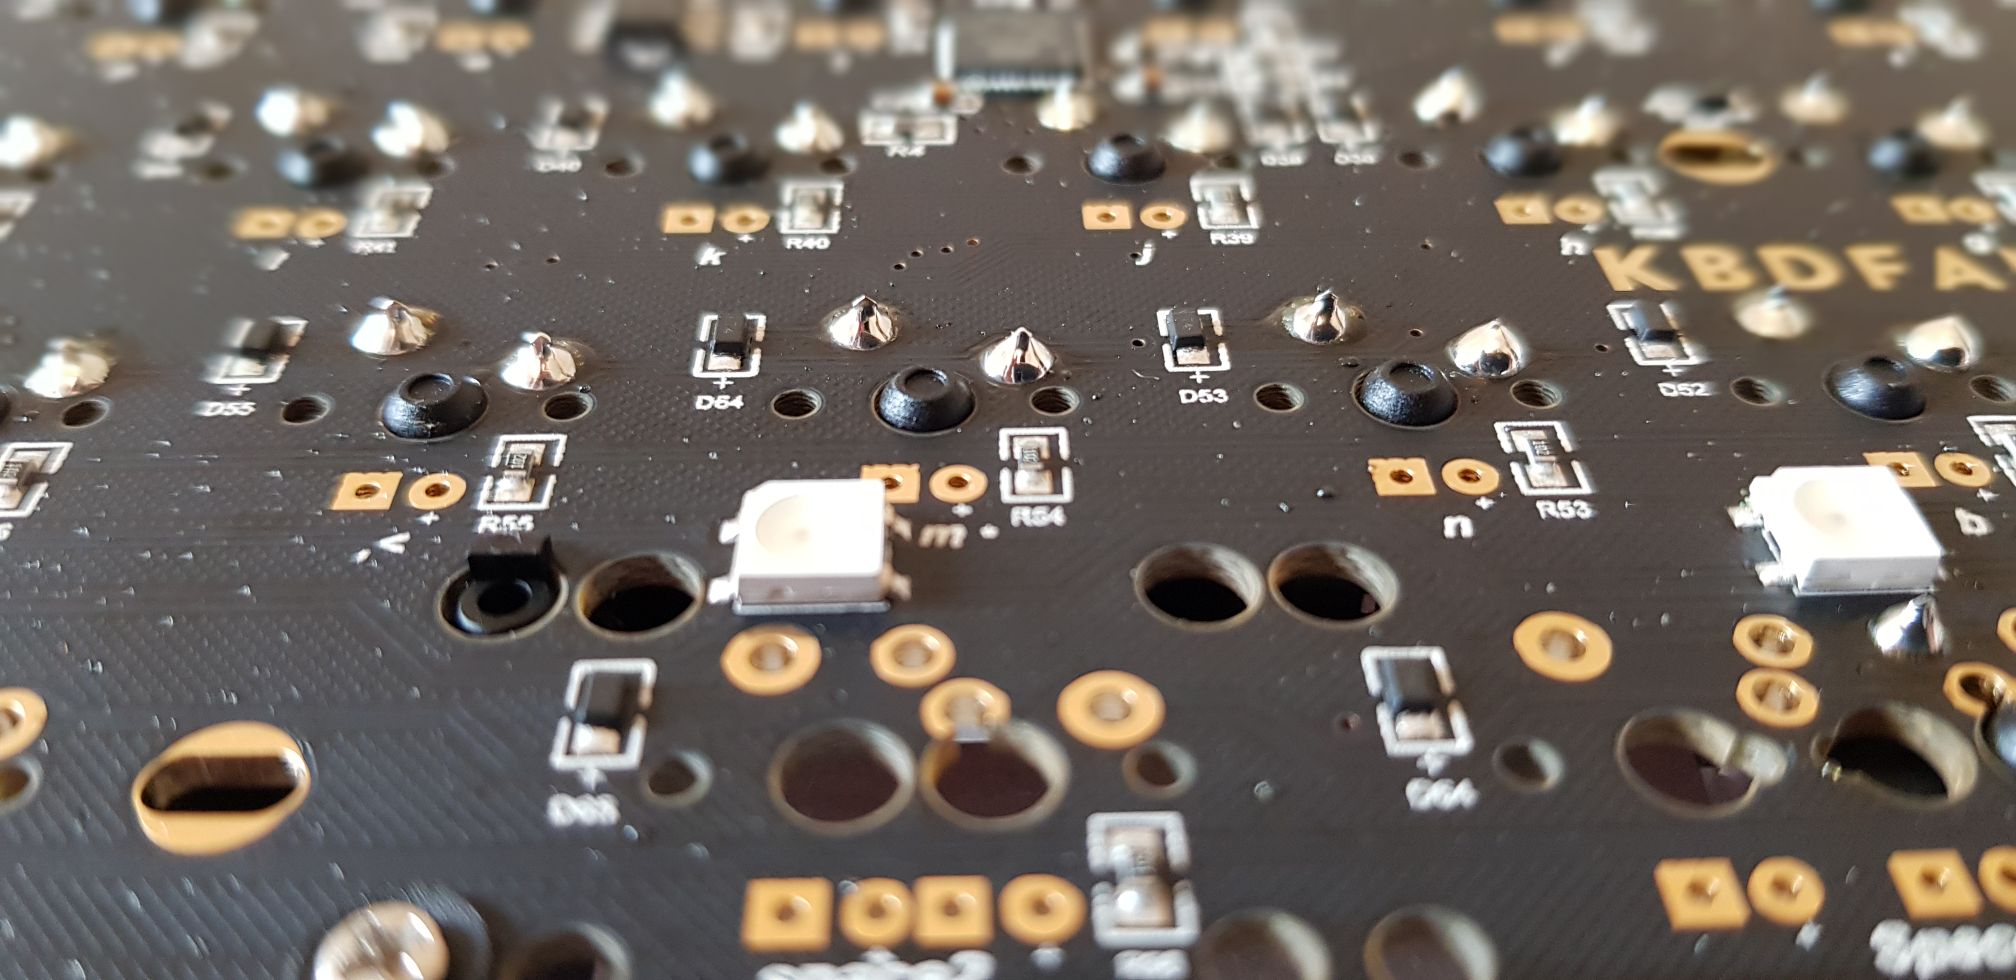
Soldering#
We now want to solder the switches to the PCB.
Ref:
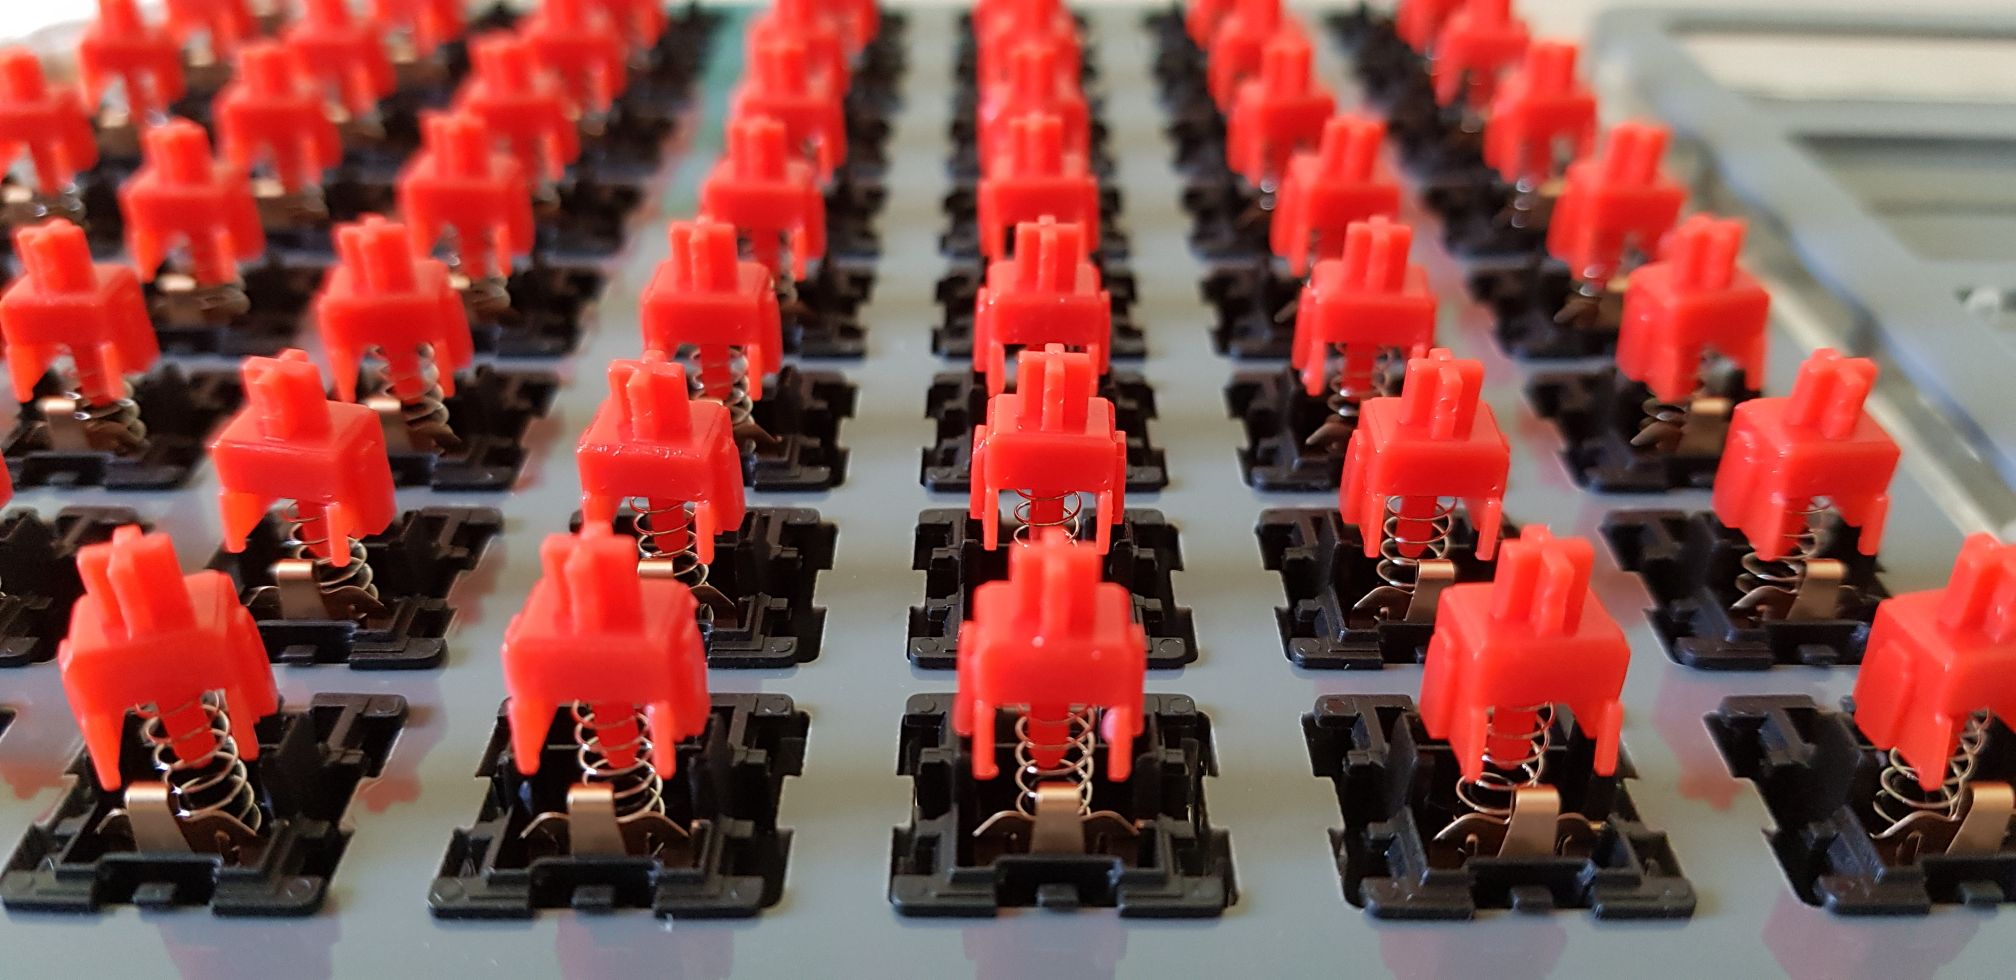
Finish#
Put the keycaps on it and you got your brand new handmade keyboard.
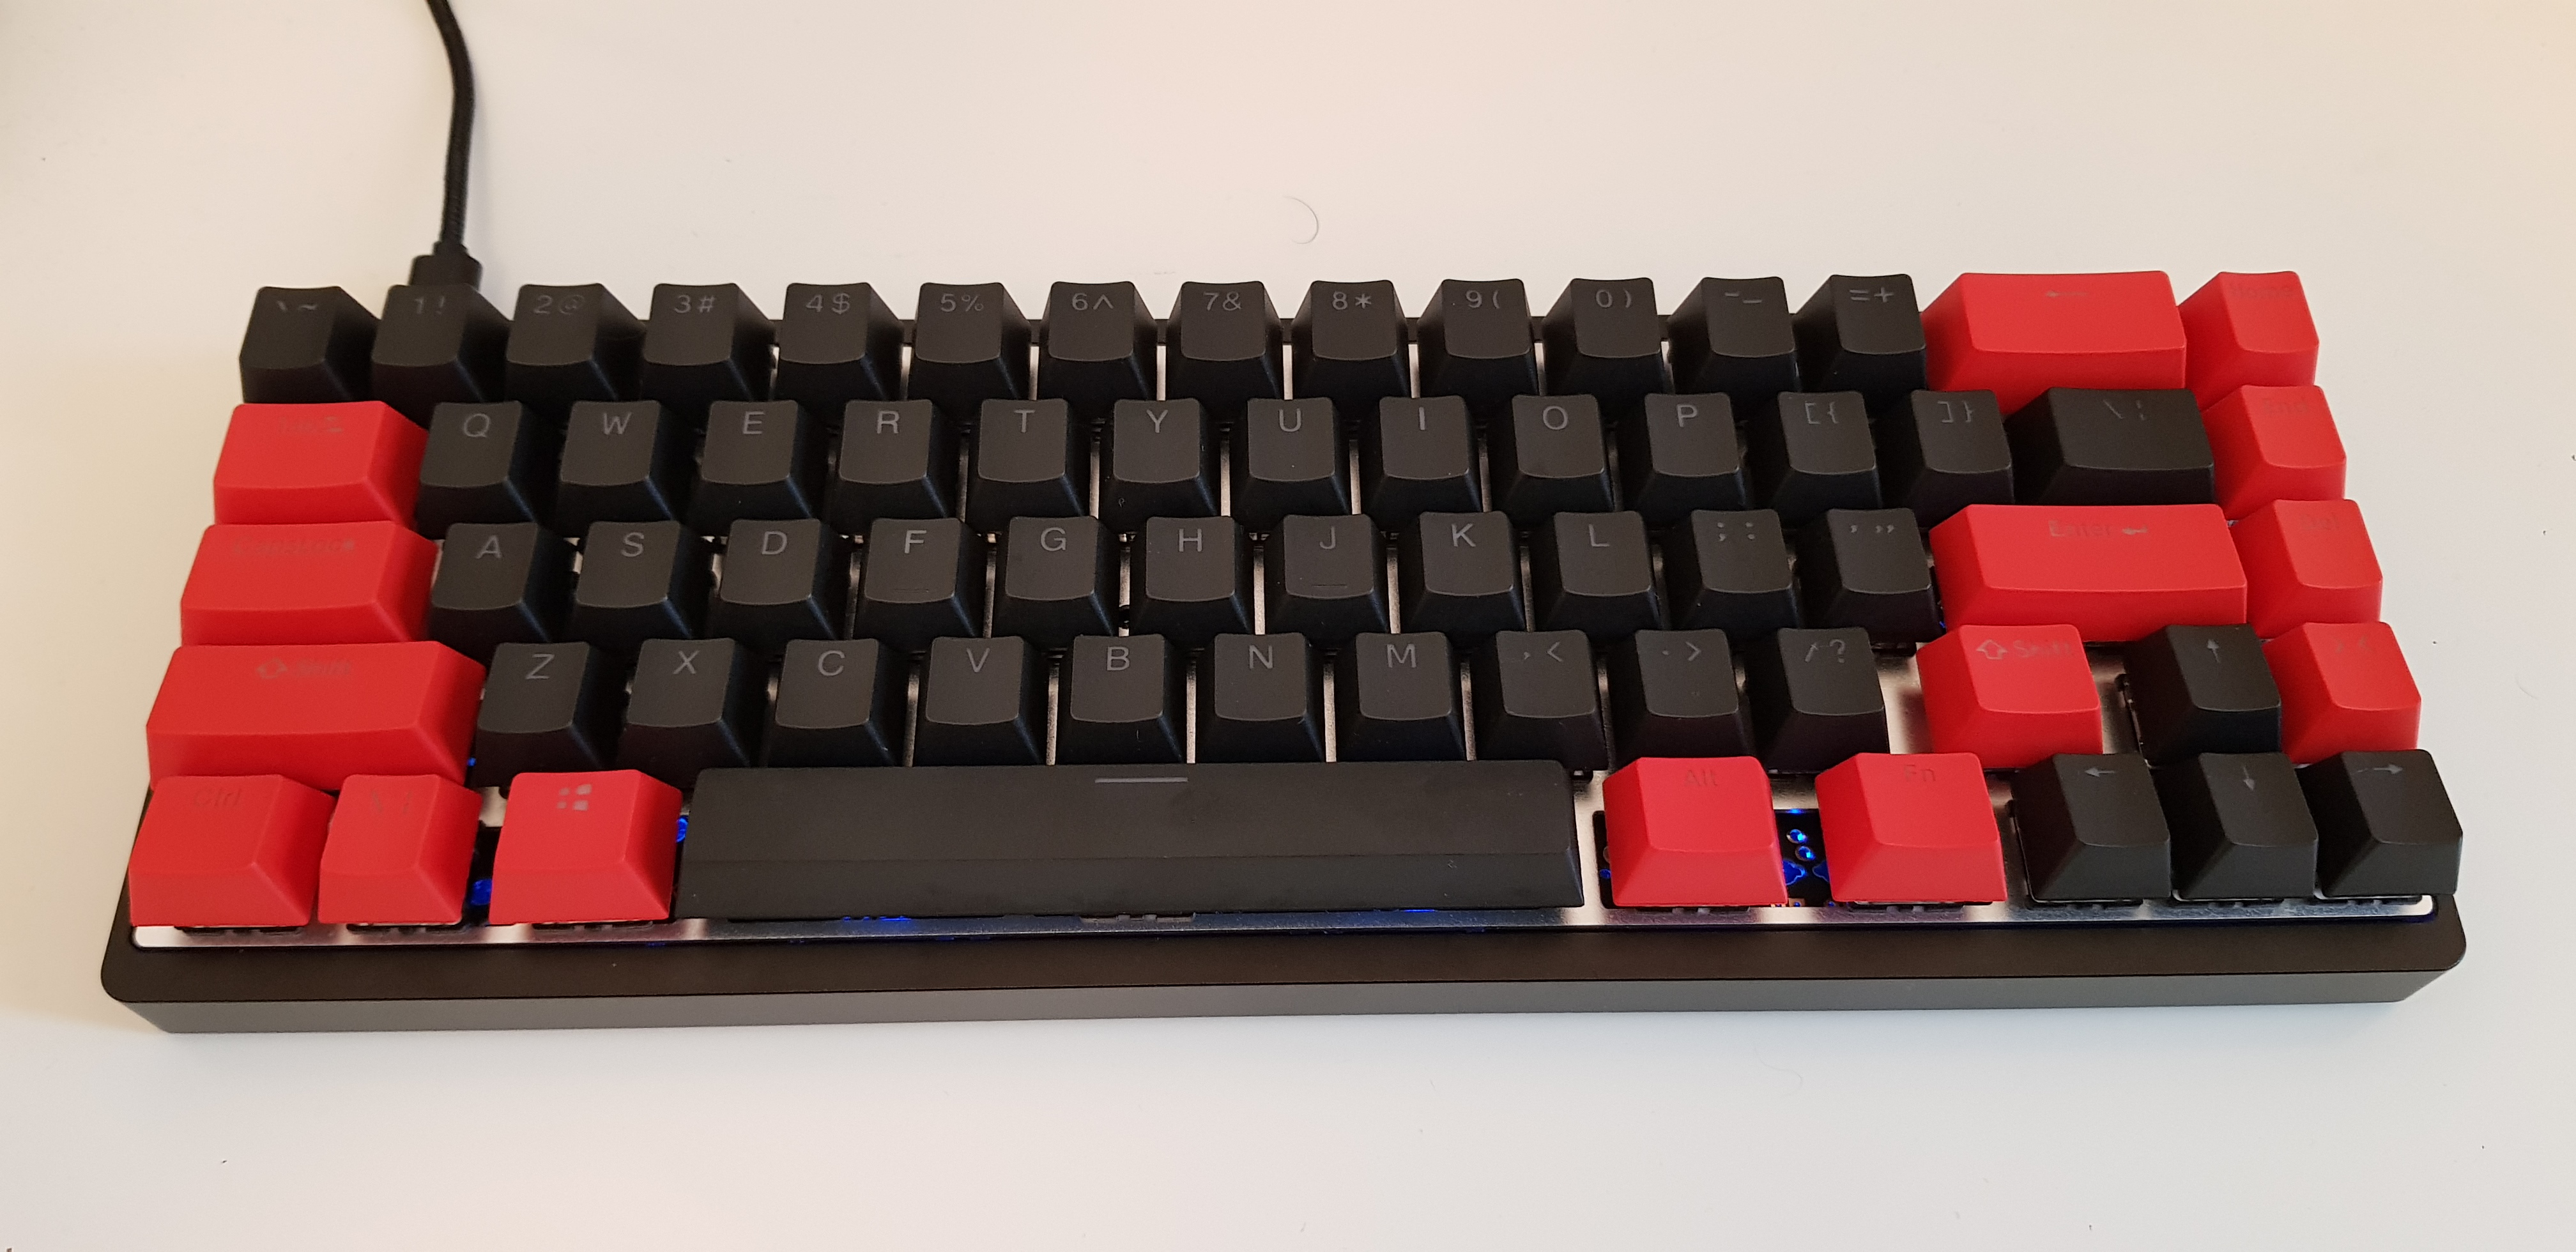
![]()
Sound testing#
Sorry for bad quality
| Keyboard | Sound |
|---|---|
| Ducky One 2 (MX brown) | mp3 |
| Keychron k3 (MX brown lubed) | mp3 |
| Mine (Gatheron red lubed) | mp3 |
Configure keyboard with VIA#
VIA is an open source software to help you configure your keyboard: adding layers (like Fn key), macros and so on.
I used it in order to add a function on my right control key, to unlock a new layer on the keyboard, I can now use F1-F10 keys easily.